
How to combine multiple Excel files into one master workbook
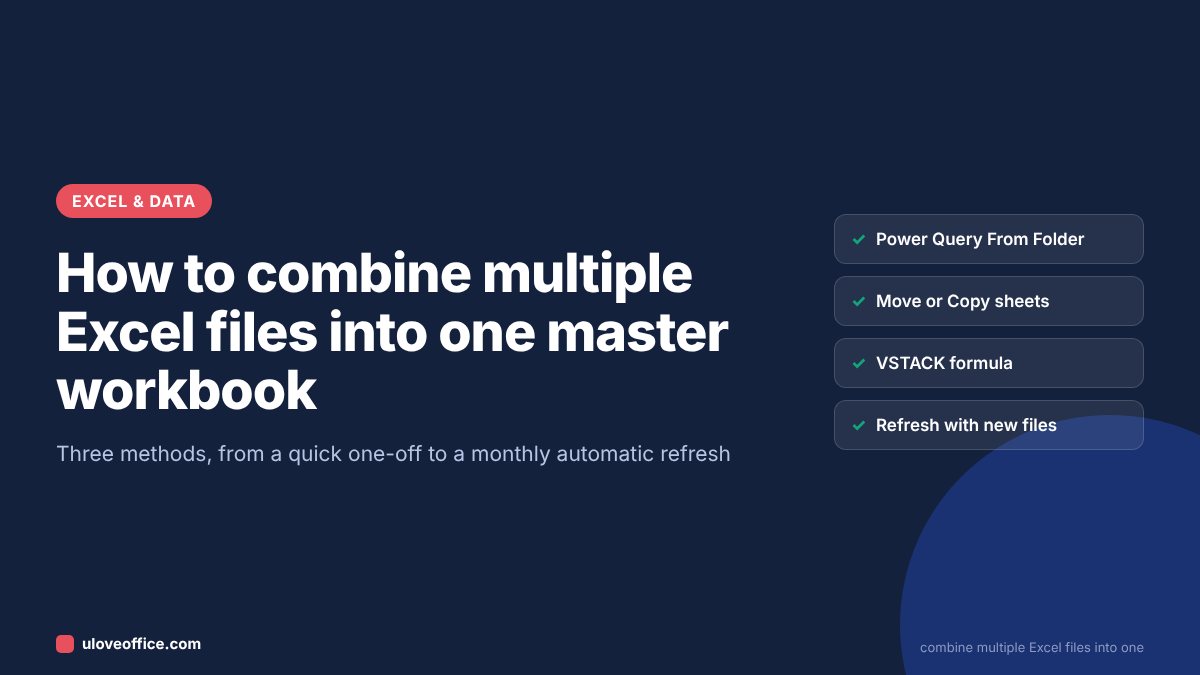
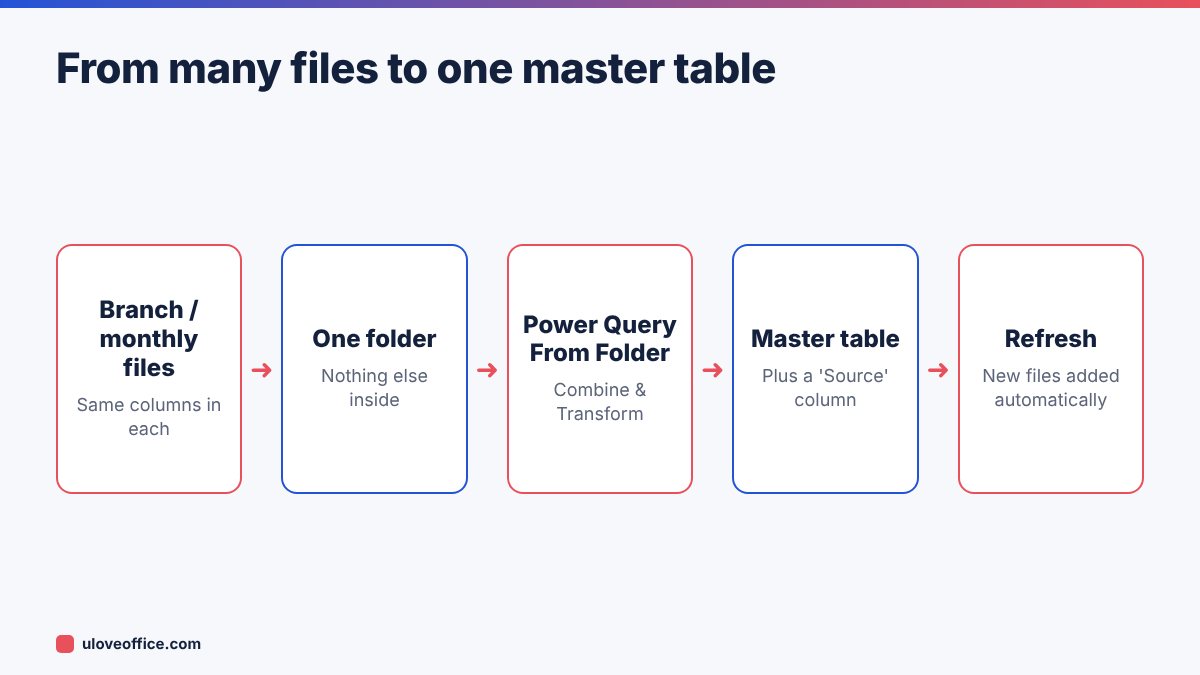
Quick answer: The best way to combine many Excel files with the same layout is Power Query’s From Folder option. Put all the files in one folder, go to Data > Get Data > From File > From Folder, choose Combine & Transform, pick the sheet or table to use and load the result. Power Query stacks every file into one master table and adds the file name as a column. When new files arrive, drop them in the folder and click Refresh. For a quick one-off job with a few files, Move or Copy sheets or the VSTACK function also work.
Many UAE offices receive the same report from several branches, sales staff or months: Dubai, Abu Dhabi and Sharjah each send their own sales sheet, or the accountant keeps one file per month. Copying and pasting them together is slow and risky. This guide shows three methods and when to use each.
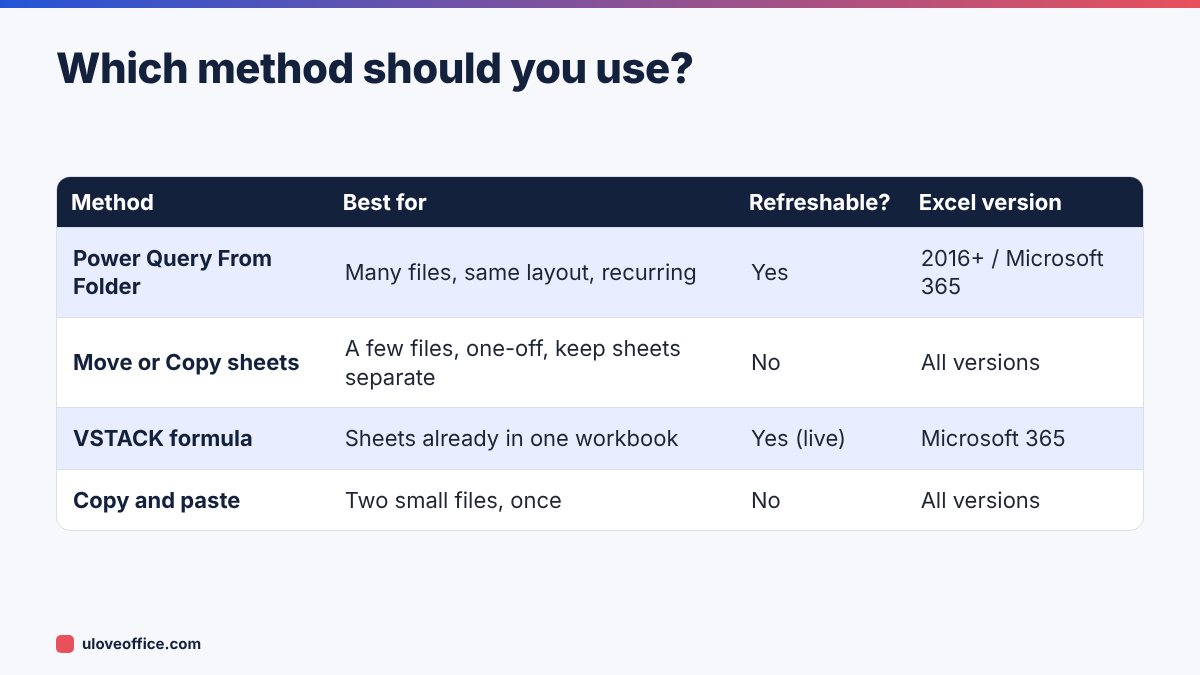
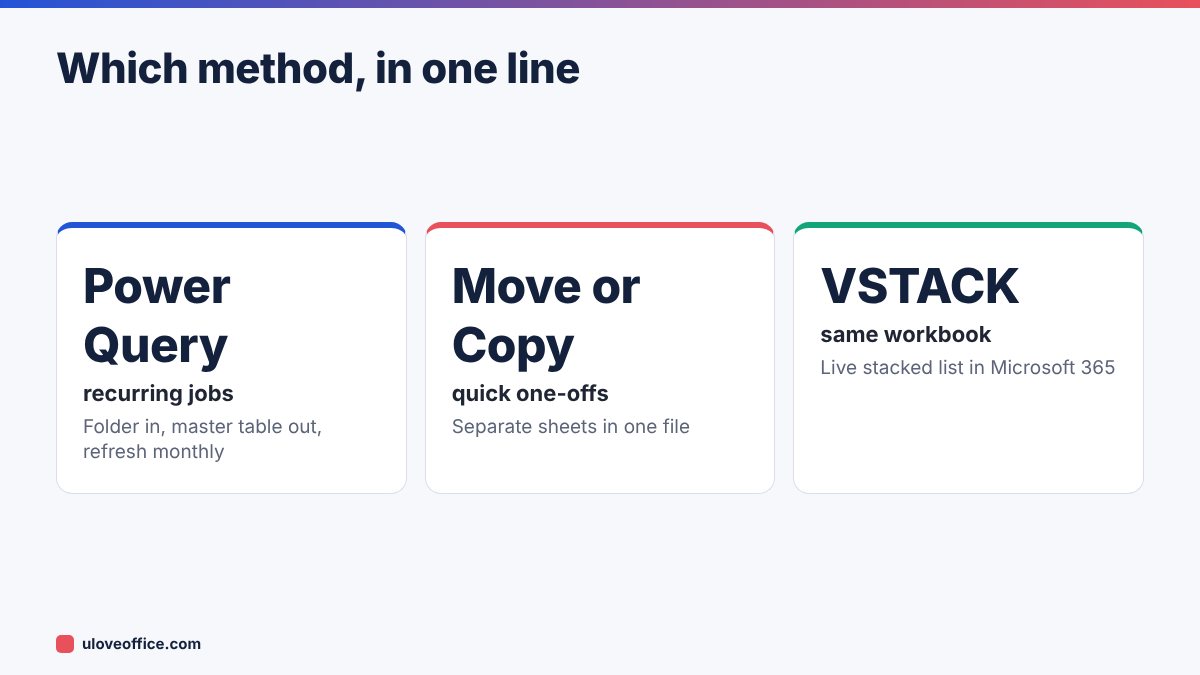
Choose the right method
Before you start: prepare the files
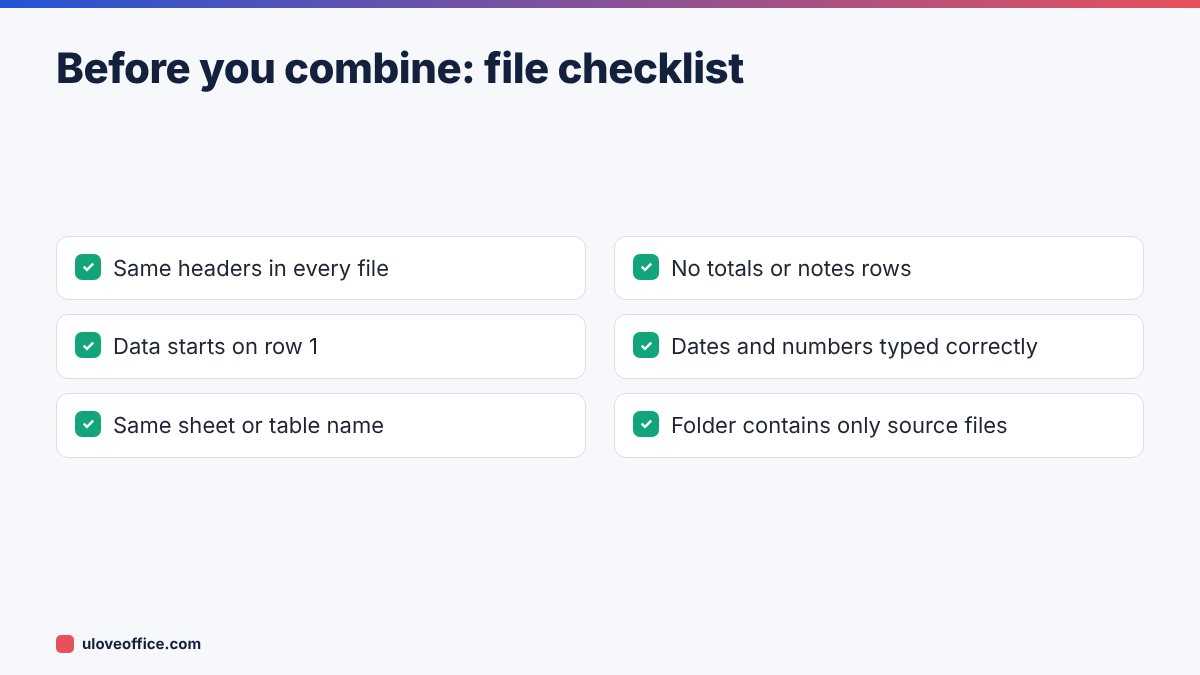
Combining only works smoothly if the files are consistent:
- Same column headers, spelled the same way, in the same order if possible. “Customer” and “Client” will become two separate columns.
- Data starts in the same place, ideally row 1, with no title rows above the headers.
- Same sheet name or table name in each file, for example a sheet called
Salesor a table calledtblSales. - No totals rows at the bottom, or totals that can be filtered out easily.
- Consistent data types: dates as dates, amounts as numbers.
If branches send files in different layouts, agree a template first. Lock the header row with our guide on how to protect cells in Excel, and send it as the only accepted format.
Method 1: Power Query From Folder (recommended)
Step 1: Create a folder for the source files
Create a folder such as Sales-2026 and put only the files you want to combine inside it. Remove any other files, including temporary files that start with ~$.
Step 2: Connect to the folder
In a new workbook, go to Data > Get Data > From File > From Folder, browse to the folder and click Open. Excel shows a list of files.
Step 3: Combine
Click Combine > Combine & Transform Data. In the next window, choose the sheet or table to use from the sample file, for example Sales, and click OK.
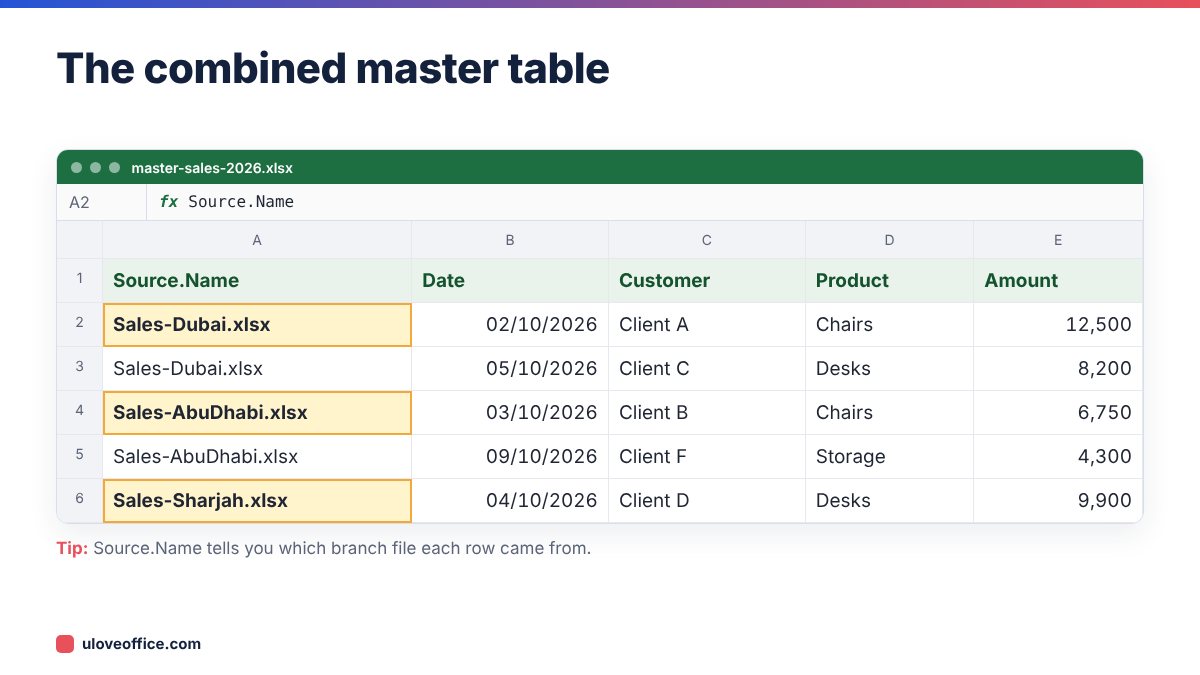
Power Query creates helper queries and opens the editor with all files stacked together. The first column, Source.Name, contains the file name each row came from.
Step 4: Clean up the combined data
In the editor:
- Rename Source.Name to Branch, then use Transform > Replace Values to change
Sales-Dubai.xlsxtoDubai, or use Split Column by Delimiter on “-” and “.”. - Set data types: Date as Date (using locale if needed), Amount as Decimal Number.
- Filter out any total rows or blank rows.
Step 5: Load and refresh
Click Close & Load. You now have one master table. Next month, add new files to the folder and click Data > Refresh All. They appear automatically.
Method 2: Move or Copy sheets
Use this when you have a few workbooks and want to keep each as a separate sheet in one file, for example to send one file to a manager.
- Open all the workbooks and the destination workbook.
- Right-click the sheet tab you want to copy and choose Move or Copy.
- In To book, choose the destination workbook.
- Tick Create a copy so the original stays intact, then click OK.
- Repeat for each file, and rename the sheet tabs clearly (for example
Dubai,Abu Dhabi,Sharjah).
This is fast but manual. Next month you have to do it again, and formulas that referred to other files may need checking.

Method 3: VSTACK for sheets in the same workbook
If you use Excel for Microsoft 365 and the data is already on separate sheets in one workbook, the VSTACK function stacks ranges into one live list:
=VSTACK(Dubai!A2:E200, AbuDhabi!A2:E200, Sharjah!A2:E200)
To skip empty rows, wrap it in FILTER:
=LET(all, VSTACK(Dubai!A2:E200, AbuDhabi!A2:E200, Sharjah!A2:E200), FILTER(all, INDEX(all,,1)<>""))
You can even stack a range across many sheets with a 3D reference:
=VSTACK(Dubai:Sharjah!A2:E200)
This stacks the same range from every sheet between Dubai and Sharjah in the tab order. Put headers above the formula manually. VSTACK updates instantly when the source sheets change, but it does not add a column showing which sheet each row came from, so add a Branch column in each source sheet if you need it.
Building a master report from the combined data
Once you have one table, analysis is easy:
- Insert a PivotTable with Branch in rows, Month in columns and Amount in values. Our Excel PivotTable tutorial covers the basics.
- Use SUMIFS to pull totals into a fixed report layout.
- Add a slicer for Branch so managers can filter with one click.
Worked example: monthly files for a year
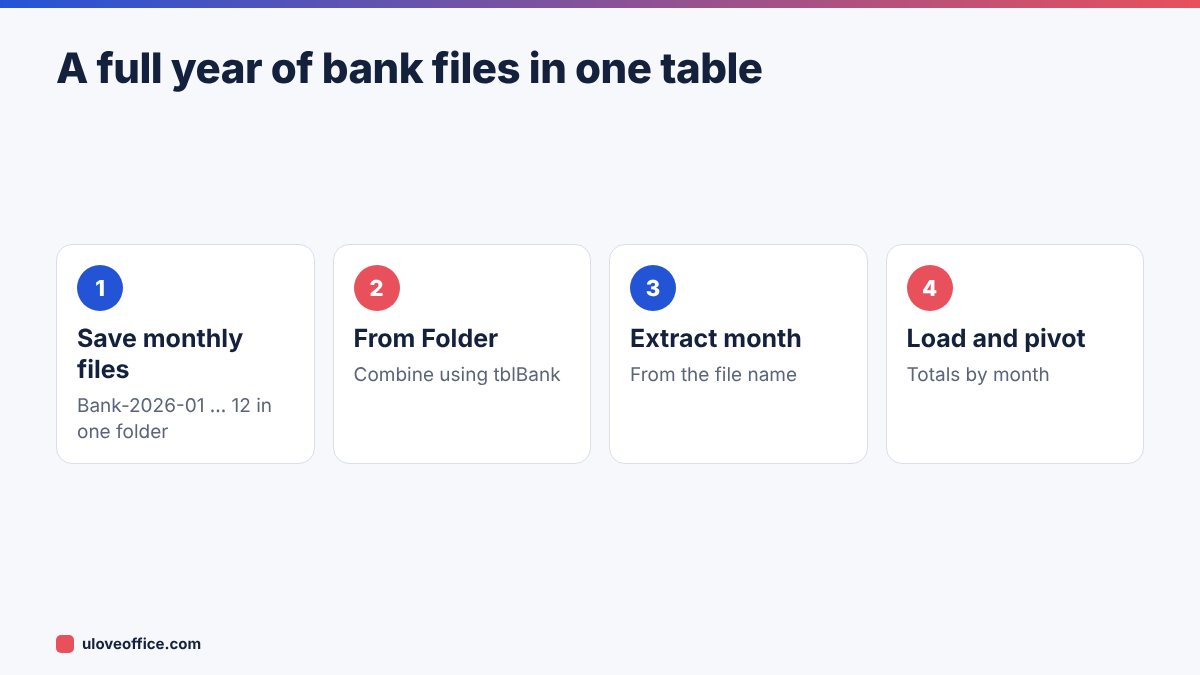
An accountant saves the bank statement for each month as Bank-2026-01.xlsx, Bank-2026-02.xlsx and so on, in a folder called Bank-2026. Each file has a table called tblBank with Date, Description, Debit and Credit.
- From Folder on
Bank-2026, combine usingtblBank. - Rename Source.Name to Month and extract
2026-01from the file name with Extract > Text Between Delimiters (“Bank-” and “.xlsx”). - Load to a sheet called
AllBank. - Build a PivotTable summarising Debits and Credits by month.
In December, the accountant saves Bank-2026-12.xlsx into the folder and clicks Refresh All. The full-year view is complete.
Common problems and how to fix them
Columns appear twice with slightly different names. One file uses “Amount AED”, another “Amount”. Rename the column in the source file, or use Transform > Rename in the sample query.
Extra rows from a “Notes” sheet. Power Query combined the wrong sheet in some files. Make sure every file uses the same sheet or table name, and combine using that name.
Refresh errors after someone opened a file. Temporary ~$ files are in the folder. Add a filter on the Name column in the folder query to exclude names starting with ~$.
Dates are wrong. Set the type using locale (English UK or Arabic UAE) for DD/MM/YYYY.
Duplicate rows. The same file was saved twice under different names. Clean up the folder, or use Remove Duplicates on a unique ID column.
If your source files are PDFs
Some branches or suppliers send PDF reports. Convert them first with PDF to Excel, save the results in the folder, then combine. If the PDFs are scans, run OCR PDF first. Check the converted files have the same columns before combining.
After combining, you might want to remove duplicates across sheets; our guide on removing duplicates in Excel across multiple sheets shows how.
Keeping the system running every month
Combining files is only half the job. To keep it reliable:
- Name files consistently, for example
Sales-Dubai-2026-11.xlsx, so the branch and month can be extracted from the name. - Send the template, not instructions. Give each branch the same workbook with the header row locked and a table already created.
- Check row counts after refresh. Add a small summary: number of rows per Source.Name. If one branch suddenly shows zero rows, their file is missing or in the wrong format.
- Archive old folders at year end rather than leaving hundreds of files in one place, which slows refresh.
- Document the process on the first sheet of the master workbook, including the folder path and who to contact.
A quick row-count check uses a PivotTable on the master table with Source.Name in rows and Count of Date in values. It takes seconds and catches most problems before a manager sees a wrong total.
📘 Continue reading
Frequently asked questions
Can Power Query combine CSV files too?
Yes. From Folder works with CSV files, which are often easier to combine than Excel files.
What if each file has several sheets I need?
Combine each sheet type in a separate folder query, or use the advanced option to expand all sheets and filter by sheet name.
Does the master workbook need the source files to stay in the folder?
Yes, for refreshing. The loaded data remains in the workbook even if the folder is unavailable, but refresh will fail.
Can I combine files from SharePoint or OneDrive?
Yes, using Get Data > From SharePoint Folder with the site URL.
If you are unsure, start with Power Query: it handles both small and large jobs, and it is the only method here that keeps working next month without extra effort.
Key takeaways
- Use Power Query From Folder for anything you will repeat; it is refreshable and scales.
- Consistent headers, sheet names and data types in every source file are essential.
- The Source.Name column tells you which file each row came from; turn it into a Branch or Month column.
- Move or Copy suits quick one-offs; VSTACK suits sheets already in one Microsoft 365 workbook.
- Check row counts per source after every refresh.
Conclusion
For anything you will repeat, combine files with Power Query From Folder: one folder, consistent files, one refreshable master table with a column showing where each row came from. Use Move or Copy for quick one-offs and VSTACK when the sheets are already in one Microsoft 365 workbook. Once your data is in one place, reporting takes minutes instead of hours.
Last checked: 9 November 2026.